Happy SUPERBOWL Sunday crafty friends!

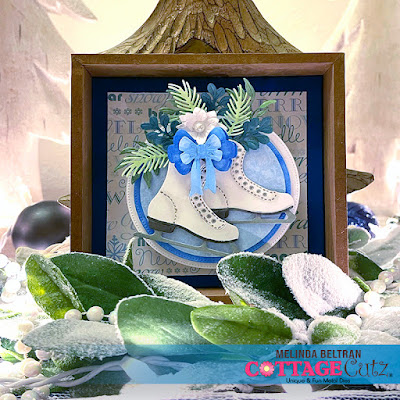
I created this little faux shadow box with a cute little décor piece inside.

I started by taking the adorable little pieces from the Spring Chickee in Basket die and coloring them. I cut them all from plain white cardstock.

I cut out two of the Nested Stitched Doilies from the die Set in white cardstock. I wanted to make some mats for them and a two hour circle cutting saga began!!!!...lol! I have some punches and recently got this circle cutter. I know some things are great tools and some are not. This, for me, is a big fat NOT! It was something I just couldn't use with ease. I didn't have the right size punches either. I didn't want to pull out my electronic cutter for a simple circle....so the lesson here...
get a great set of basic circle dies.... like this set!
get a great set of basic circle dies.... like this set!

Going forward, I will be collecting all of the basics from Cottage Cutz... I don't want to go around the "circle saga mountain" again...lol!

Next, in staying with the circle theme, I wanted to create a rosette. So I cut out a piece of paper 5" x 12" from some patterned paper in my stash. I scored it every half inch.

I then cut it in half, so I had two pieces that measured 2.5 x 12. They were both scored. I then "accordion" folded them.

For one I started with the first flap up. For the other I started with the first flap down. This way when it came time to join them together, they would just fall right in line.

Here's a photo of the adhesive on one end tab. I just adhered the first flap of the other one, right onto that piece.

Here's what it looks like joined together. You can't tell where one begins and the other ends.

I then adhered both ends together. That creates this piece.

Once you gather the folds together, you lay it flat and you get your rosette. Here you can see that you can change the size of the rosette based on how loose you gather it, or how tight and small you make the center.

Here is a picture of the center closed in together much tighter.

I then used some hot glue and a circle punched piece of cardstock to the back.

I do the same thing in the front. I use hot glue so that all the folds will stay together.
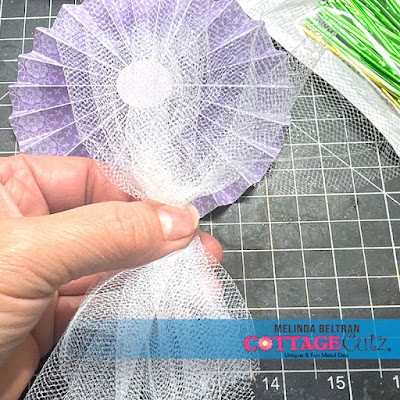

I folded it and more or less found the center. I used a little twist tie from my stash to keep it gathered in the center.

I then poofed it out and saw that it was way too big for the rosette so....

I gathered it together and chopped of about 3/4-1"

I then arranged the cute little pieces onto the circle doily mats.

I then added all that onto the tulle and rosette.

Here's another view. you can see I added some foam in between the layers to give it all some extra dimension.

Next, I decided to create what I am calling a "faux shadow box" I needed the inside to be a finished size of 6x6. So I worked out from there. Here is a photo as I was putting it together. There is some definite "tweaking" I had to do, but as soon as I can, I will share the dimensions. I kind of had to "Frankenstein" this one.

Once I got it all together, I added the sentiments Easter and Blessings along the top. Here is a closer look at the blessings.

Here is a closer look at the Easter. They both come from the Spring Sentiments Die

Here's another look at my finished project.

I have it sitting on my entrance table. I will finish decorating it for the coming season and this will definitely be a part of it.
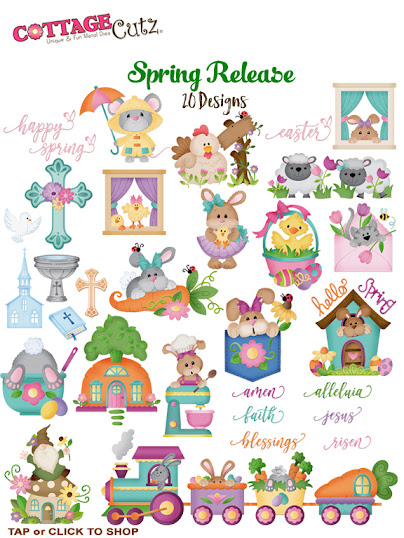
The Dies I used to create this project:


In case you didn't hear, The CottageCutz YouTube channel is up and running. Head over and check out the latest video! There is a giveaway for subscribing too!
Well that about covers it for today! If you want to see more of my work, head over to my blog: CraftyMelinda.com. Until the next time, have a wonderfully crafty day!
Melinda Beltran